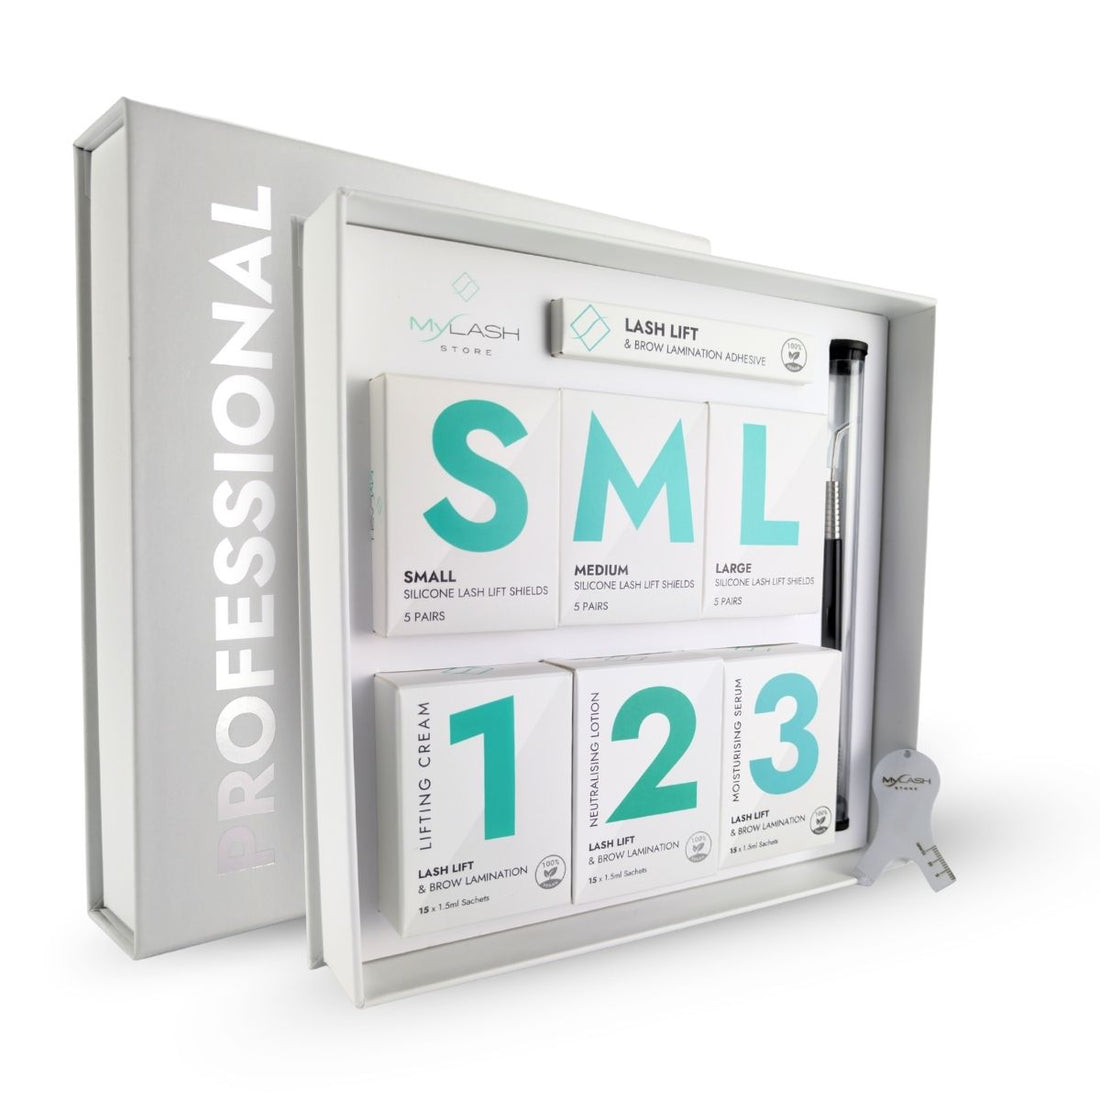
Lash Lift Guide

Perfect for lash pros who want:
- Flawless, consistent results — even on coarse or stubborn hairs
- Effortless application — Quick, simple, and beginner-friendly
- Superior value — up to 50% more applications than competing kits
- A gentle, conditioning formula — protects and strengthens lashes
Contents
- Prep & Consultation
- Shield Selection & Placement
- Lash Alignment & Adhesive
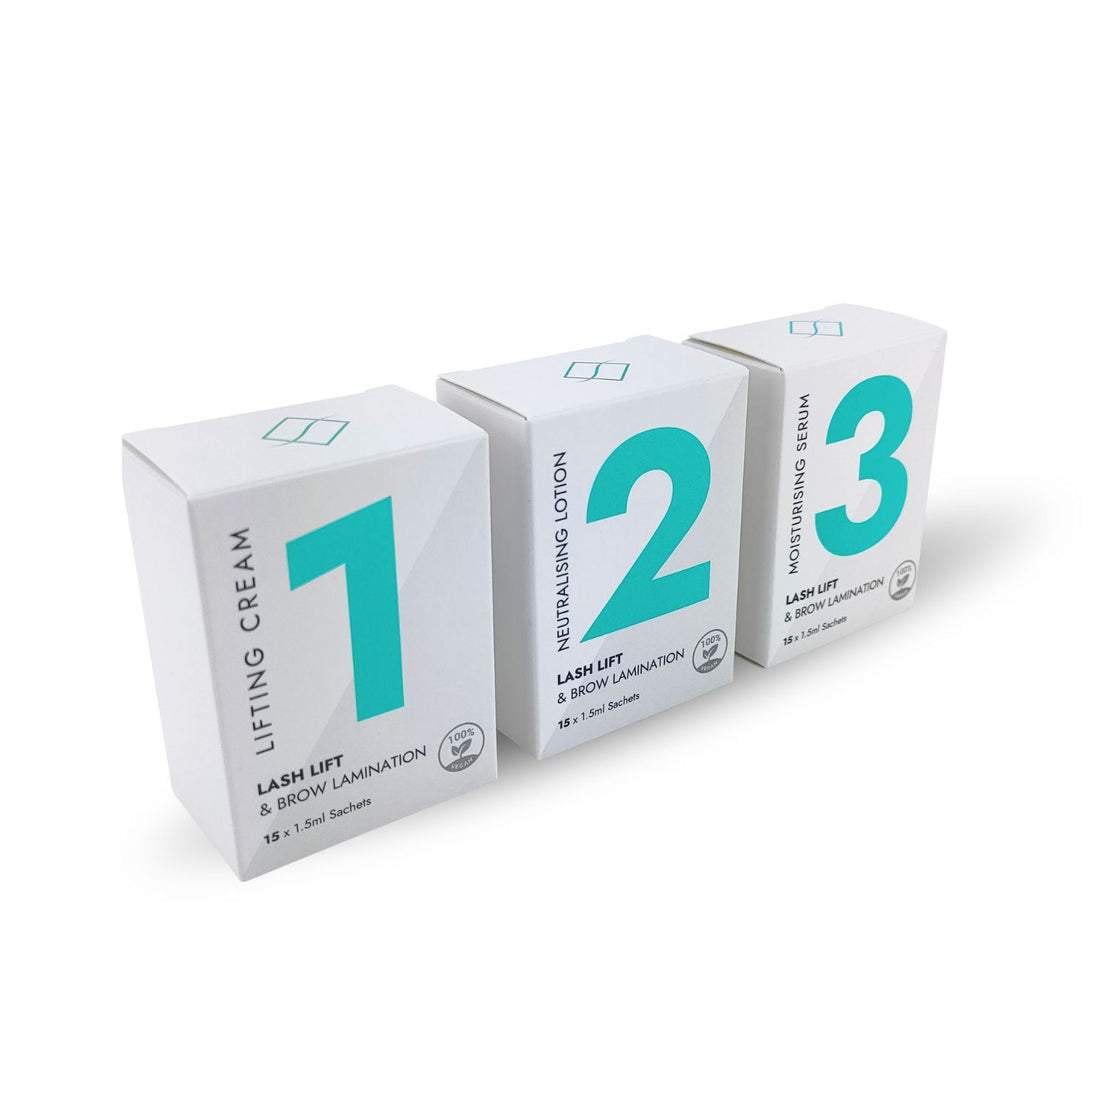
- Step 1: Lifting Cream
- Step 2: Neutralising Lotion
- Tinting (Optional)
- Step 3: Moisturising Serum
- Aftercare
- Problem Solving Guide
1. Prep & Consultation
Client Consultation:
Before you begin, take a moment to chat with your client about their natural lashes and the look they’re hoping to achieve. Are they after a natural lift or something more dramatic and curled? This will guide your shield selection and how you position the lashes on the shield. For example:
- A natural look is best with a larger shield and a soft upward lift.
- A dramatic curl calls for a smaller shield and lashes placed closer to the base.

Lash Assessment:
Before selecting your processing time, quickly check these three factors:
Health: Healthy lashes are smooth, even in colour, and free from bends or frays — proceed as normal. Compromised lashes (brittle, broken, sparse) should be processed for less time or left to recover before treatment.
Coarseness (visual check): Fine lashes process faster, coarse lashes are more resistant and may need longer. Use the timing chart in Step 1 as your main guide.
Porosity (shine + feel test):
- Shine: Low porosity lashes have a shiny or glassy surface and can be more resistant, sometimes requiring a little extra time. High porosity lashes look matte or dull and may take solution more quickly.
- Feel: Slide fingers or tweezers gently along the lash line. Smooth/slippery = low porosity. Slightly rough or “grippy” = high porosity.
Reminder: Use these as clues rather than hard rules, and always rely on control checks to decide when the lashes are ready.
Avoid treatment if your client has:
- Active eye infections (e.g. conjunctivitis)
- Recent eye surgery or cosmetic eye procedures (within 6–8 weeks)
- Extremely brittle, damaged, or sparse lashes
- Known allergies or sensitivities to lash lift products
- Broken, irritated, or inflamed skin around the eyes
Patch Test:
We recommend performing a patch test at least 24 hours before treatment, especially for first-time clients or those with sensitive skin.
- Using clean hands or gloves, dispense a small amount of each solution and adhesive or Lift & Lam Balm onto separate areas of the inner forearm.
- Let each product sit uncovered on the skin for 10–15 minutes.
- Wipe off with a clean cotton pad — no rinsing required.
- Monitor the area for 24 hours.
If there's no redness, itching, swelling, or irritation, continue to the next step.
Cleansing & Taping:
- Clean the lids, lashes, and under-eye area thoroughly using oil-free lash cleanser or protein remover pads. Rinse if needed and pat fully dry.
- Secure bottom lashes with eye pads or lash tape.
2. Shield Selection & Placement
- Small – for short lashes or strong curl
- Medium – for average lashes and balanced curl
- Large – for long lashes or a softer, natural lift
Dry-fit the shield and lift the lashes onto it (without adhesive):
If lashes only reach halfway up → go down a size.
If they reach past 75% → go up a size.


- Apply a thin layer of lash lift adhesive (or lift & lam balm) to the back of the shield.
- Press the shield into place from inner to outer corner.
- It must sit snug with no gaps. If it lifts: re-clean the skin, use less product, or apply tape to the lid before reapplying the shield.
- Gently hold shield in place for 20 seconds ensuring it has fully adhered

3. Lash Alignment & Adhesive
- Apply adhesive or balm to the front of the shield in small sections.
- Lift lashes onto the shield using a lash tool. Work from the base and align them straight upward, spaced like a barcode.
- Avoid criss-crossing or gaps. Secure with your tool and double-check placement from multiple angles.

4. Step 1: Lifting Cream
- Massage the sachet for 20 - 30 seconds to ensure the solution is well mixed.
- Apply Step 1 Lifting Cream to the base to mid-length of lashes only. Avoid tips.
- Work in sections and apply enough to coat, not flood.
Pro Tip: Place lash tape across the tips of the lashes to keep them in place and prevent the lifting cream from over-processing the ends.
Step 1. Processing times:
- Very fine: 4–5 min
- Fine/tinted: 5–6 min
- Natural: 6–8 min
- Coarse: 8–10 min
Note: If using lift & lam balm instead of adhesive increase times by 20%
- Control check: About 1–2 minutes before the end of the processing time, gently lift one or two lashes off the shield and bend them back with your lash tool or tweezers. If they’re soft and pliable and bend easily, they’re ready. If they still feel firm or resistant, especially near the base, which takes longer to process then leave the solution on for another 1–2 minutes and check again.

- Remove product with a dry applicator, wiping base to tip.
5. Step 2: Neutralising Lotion
- Massage the sachet for 20 - 30 seconds to ensure the solution is well mixed
- Apply Step 2 Neutralising Lotion to the same area as Step 1 without disturbing the lashes.

Step 2. Processing times:
- Fine/tinted: 5 min
- Natural/coarse: 6 min
Note: If using lift & lam balm instead of adhesive increase times by 20%
- Control check: Use tweezers to gently peel one lash away from the shield. If it snaps back into place in the desired curl — Step 2 is complete. If it sits away from the shield and doesn’t bounce back — it needs more time.

6. Tinting (Optional)
- Tint immediately after removing Step 2 neutralising lotion and before Step 3. moisturising serum
- Use manufacturer’s timing guidelines (Note: processing times are typically shorter after a lift).
- Remove all tint residue before continuing.

7. Step 3: Moisturising Serum
- Massage sachet for 20-30 seconds
- Apply Step 3 Moisturising Serum over the lashes to soften and hydrate.
- Work the serum under the shield to help gently release it.
- Once lashes are free, remove the shield and clean any residue.
- Remove pads/tape and brush through lashes with a clean spoolie.
- Do not rinse — Step 3 is a leave-in solution that will continue to condition the lashes after the appointment.

8. Aftercare Advice
For longer-lasting results, remind your clients to follow these aftercare tips (or provide them with an aftercare card):
- Keep lashes dry for 24–48 hours (no steam, water, or sweat).
- Don’t apply mascara or eye makeup for the first 24 hours.
- Avoid steam, saunas, and extreme heat.
- Don’t rub, pull, or sleep on your lashes — especially in the first 48 hours.
- Avoid using eyelash curlers.
- Stay away from oil-based eye creams or makeup removers.
- Gently brush your lashes daily with a clean spoolie.
- Cleanse lashes regularly using a gentle, oil-free lash cleanser.
- Schedule regular lash lifts
9. Problem Solving Guide
If you’ve followed the steps above, your results should be smooth and consistent.
But if something didn’t go to plan, don’t worry — here are the most common issues, their causes, and how to fix them. A few small tweaks are usually all it takes.
No lift at all
Cause: Incorrect shield size, under processing, or lashes not properly adhered to the shield
Solution: Use a smaller shield for more lift, ensure lashes are firmly and evenly adhered, and increase processing time if needed based on lash type.
Uneven lift
Cause: Lashes not all stuck down properly or not evenly spaced on the shield
Solution: Work in small sections, ensure all lashes are securely and evenly placed before applying solution. Re-stick any areas if needed.
Results too subtle
Cause: Shield too large or under processing
Solution: Try a smaller shield for a more dramatic lift, and slightly increase processing time for strong natural lashes. Always do a control check to ensure solutions have finished processing
Lashes curling back onto eyelid
Cause: Shield too small or lashes placed too high on the shield
Solution: Use a slightly larger shield and make sure the lashes are positioned in the centre or lower part of the shield curve.
Lashes too lifted or over-curled
Cause: Shield too small or processing time too long
Solution: Try a larger shield or reduce processing time. Always perform a control check partway through processing.
Overprocessing (frizzy, dry looking lashes)
Cause: Step 1 or 2 left on too long or lashes too fine for standard timing
Solution: Reduce processing times on fine or compromised lashes. Always control check to avoid over processing.
Underprocessing (results fade quickly)
Cause: Underprocessing — either Step 1 didn’t reach pliability or Step 2 didn’t set long enough; coarse lashes often need more time.
Solution: Control-check Step 1 and only proceed when pliable; if not, extend in 30–60 s increments within safe limits. Extend Step 2 by 1–2 min and ensure full coverage.
Shield won’t stay in place
Cause: Oily skin, poor placement, or insufficient adhesive
Solution: Clean eyelid thoroughly with a protein remover or cleanser. Try using micropore tape along the edge of the shield to hold it down or place tape over eyelid and adhere shield to tape.
Client experiencing irritation or stinging
Cause: Product touching skin or eyes, poor placement, or sensitivity
Solution: Keep all solutions 1mm from lash line. Apply with care. Always patch test new clients and use sensitive eye shields if needed.
Stick-down stage taking too long
Cause: Using too much adhesive or working in large sections
Solution: Use less adhesive or Lift & Lam Balm, and work in small, manageable sections for quicker control.
Step 1 or 2 solutions not spreading evenly
Cause: Product is too cold or thickened from air exposure
Solution: Warm sachet gently in your hands before opening. Use a clean micro brush to apply and work quickly. Discard if consistency seems off.
Solutions are watery or runny
Cause: Solutions not mixed / out of date
Solution: Ensure the sachet is massaged & at room temp for at least 20 seconds before dispensing. Check B/B date on back of sachet.


