Brow Lamination Guide
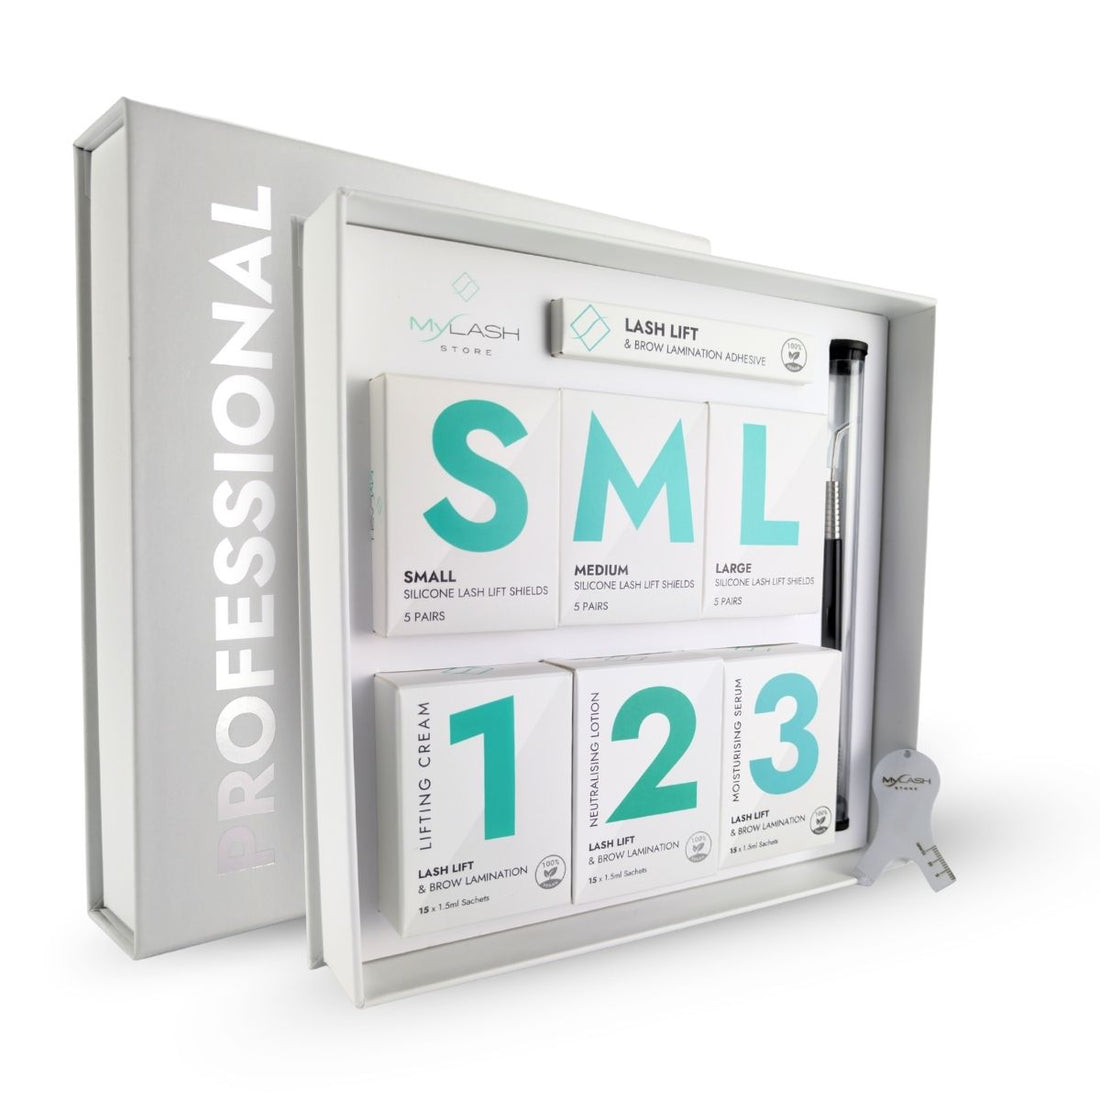
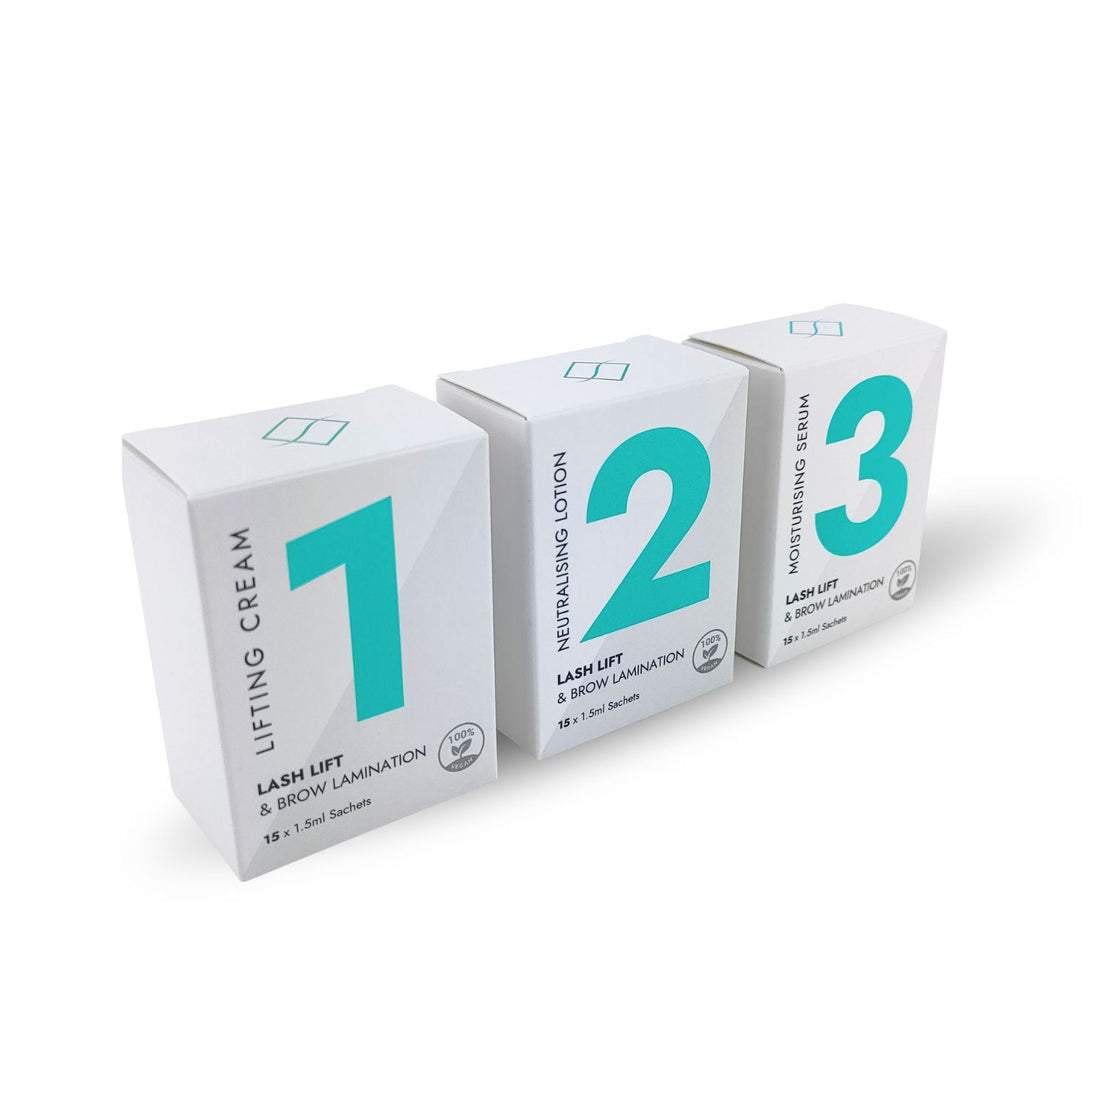
Flawless brows. Every time. Our Lash Lift & Brow Lamination System was built for pros who want consistent results, nourishing ingredients, and a formula that just works.

Perfect for pros who want:
- Flawless, consistent results — even on coarse or unruly brows
- Effortless application — Quick, simple, and beginner-friendly
- Superior value — up to 50% more applications than competing kits
- A gentle, conditioning formula — protects and strengthens brow hairs
Contents
1. Prep & Consultation: Set the Foundation for Success
Client Consultation
Before starting, chat with your client about their desired brow look. Do they want a bold, brushed-up finish or something softer and more natural? This guides how you'll position and shape the brows during lamination. For example:
- A natural look may require keeping the arch soft and the tails slightly lower.
- A bold look might mean brushing hairs more vertically and lifting the tail.

Avoid treatment if your client has:
- Broken, irritated, or sensitive skin around the brows
- Recently had microblading or brow tattooing (within 6–8 weeks)
- Active acne, eczema, or inflammation in the area
Patch Test
We recommend performing a patch test at least 24 hours before treatment, especially for first-time clients or those with sensitive skin.
- Using clean hands or gloves, dispense a small amount of each solution and adhesive or Lift & Lam Balm onto separate areas of the inner forearm.
- Let each product sit uncovered on the skin for 10–15 minutes.
- Wipe off with a clean cotton pad — no rinsing required.
- Monitor the area for 24 hours.
If there's no redness, itching, swelling, or irritation continue to the next step:
Clean the Brows
Remove all makeup and oils with an oil-free cleanser then rinse and pat dry

Pro Tip: Set up your entire workstation before starting. Lamination is time-sensitive so having everything within reach can save you from rushing or making mistakes.
2. Adhesive + Step 1: Lifting Cream
- Apply a thin layer of Lash lift adhesive or Lift & lam balm & gently brush brows into the desired shape.
- Massage Step 1 Lifting Cream sachet for 20 seconds before opening then apply using an applicator from root to 3/4 up the brow hair (avoid tips).
- Cling film or covers are optional. Some artists use them to trap heat and enhance processing, but it’s not required with our system.
Processing Times for Step 1:
- Very fine: 3–4 min
- Fine/tinted: 4–5 min
- Natural: 5–6 min
- Coarse: 6–7 min
Note: Increase times by 20% if using Lift & Lam Balm.

- Control Check: Use a spoolie or brow lamination brush to comb hairs gently in a zigzag or wavy motion. If hairs feel soft and flexible, bend easily without resistance, and stay in the new shape, Step 1 is complete. If they feel stiff, wiry, or snap back, apply more cream and recheck after 1–2 minutes.
- Remove Step 1 with dry cotton pad, wiping in direction of hair growth.
- Adjust the brow shape using a spoolie before applying Step 2. This is the best moment to lock in the desired arch, tail direction, and symmetry.
Pro Tips: Apply adhesive sparingly as too much can block the lifting cream or leave residue that's hard to remove. Comb each hair neatly into the desired shape because they’ll set exactly as placed. Avoid saturating the brow tips with Step 1 lifting cream, as they are more porous and prone to overprocessing.
3. Step 2: Neutralising Lotion
- Massage sachet of Step 2 Neutralising Lotion and apply over same area as Step 1.
Processing Times for Step 2:
- Fine/tinted: 5 min
- Natural/coarse: 6 min
Note: Increase times by 20% if using Lift & Lam Balm.
-
Control Check: Brush brows upward and diagonally with a spoolie. If hairs remain upright, hold their shape without resistance or springing back, and the surface appears slightly matte, Step 2 is complete. If not, reapply and process slightly longer before checking again.
- Remove Step 2 with dry cotton pad.
- Brush brows into final shape immediately after removing.
Pro Tip: Once Step 2 is removed, hairs can still be repositioned slightly—this is your final chance to perfect symmetry and shape. Recomb gently if needed.

4. Tinting (Optional)
- Tint immediately after removing Step 2 Neutralising Lotion and before applying Step 3 Moisturising Serum.
- Follow manufacturer’s timing guidelines. Note: Laminated hairs process tint faster than normal so monitor closely.
- Remove all tint thoroughly using a damp cotton pad before continuing to Step 3.
Pro Tip: Use a lighter tint or reduce processing time when working with freshly laminated brows—these hairs absorb pigment much faster than untreated ones.
5. Step 3: Moisturising Serum
- Massage Step 3 Moisturising Serum sachet and apply generously.
- Comb through brows to remove residue and shape.
- Do not rinse. Step 3 is a leave in serum that will continue to nourish and moisturise brows after the appointment has finished.
Pro Tips: The serum helps break down leftover adhesive and deeply conditions the hair. This is the time to finalise shape where brows will be pliable, so comb into their ideal position. Trim conservatively if necessary, avoiding blunt edges that can ruin softness.

6. Aftercare Advice
Share the below aftercare tips with your client (or provide them with an aftercare card) to help them keep their brows healthy, styled, and long-lasting
- Keep brows completely dry for 24–48 hours. Avoid steam, swimming, saunas, sweating, direct sunlight and heat sources, and all brow or heavy makeup during this time.
- Do not touch or rub brows for the first 24 hours.
- Avoid exfoliating products, AHAs, retinol, and tanning products for 3–5 days.
- After 48 hours, apply a nourishing brow oil or balm daily to maintain softness and shine.
- Brush brows into place each morning using a spoolie.
7. Problem Solving Guide
Our system is designed for consistent, professional outcomes. But on the rare chance something doesn’t go to plan, don’t stress. This guide will walk you through quick fixes and help you identify what went wrong so you can feel confident moving forward.
Underprocessed Brows
Cause: Insufficient timing or incomplete product saturation
Solution: Reapply both steps using adjusted timing. Ensure full, even coverage of each brow hair.
Over processed or frizzy brows
Cause: Processing time too long or applied too close to tips
Solution: Trim frizz if needed. Deep condition daily. Reduce timing next session and avoid applying to tips.
Brows won’t stay in place
Cause: Inadequate shaping or brow hairs too coarse
Solution: Use more adhesive or balm, shape more firmly during Step 1 and 2. Increase timing slightly.
Uneven results
Cause: Inconsistent product application or timing
Solution: Apply product evenly to both brows and ensure similar processing duration. Treat one brow at a time if needed.
Redness or irritation
Cause: Product touched skin or client sensitivity
Solution: Remove product immediately. Apply cold compress. Recommend a patch test before next treatment.
Results didn’t last
Cause: Exposed to water or oil too soon after treatment
Solution: Reinforce strict aftercare. Consider extending Step 2 time slightly during next appointment.
Solutions are watery or runny
Cause: Solutions not mixed or are out of date
Solution: Ensure the sachet is massaged for at least 20 seconds and is at room temp before dispensing. Check the best-before date on the sachet.


